안드로이드 개발 예제
Android SharedPreferences
안드로이드 쉐어드 프리퍼런스
사용 방법 초간단 예제
복잡한 설명은 다 생략하고 최대한 간단히 알아보자.
1. SharedPreferences란?
2. SharedPreferences 사용 과정
3. 예제
1. SharedPreferences란?
int, float, String, boolean 등 간단한 데이터를 저장하고 불러올 수 있다.
앱을 꺼도 데이터가 유지된다는 점에서 간편한 데이터베이스 역할을 할 수 있다.
DB(데이터베이스)를 사용하기 부담스러운 경우,
간단하게 SharedPreferences를 사용할 수 있다.
2. SharedPreferences 사용 과정
핵심적인 부분은 다음과 같이 3가지 과정으로 나눌 수 있다.
1) 변수 선언 및 초기화
변수 선언
SharedPreferences pref;
SharedPreferences.Editor editor;
초기화
pref = getSharedPreferences("pref", Activity.MODE_PRIVATE);
editor = pref.edit();
2) 초기값 지정 및 저장값 불러오기
식별값과 초기값을 직접 지정한다.
(어떤 이름으로 저장하고 불러올지, 저장값이 없을 때 불러올 값)
pref.getInt("MyInt01", 0);
3) 원하는 값 저장하기
MyInt01에 10을 저장한다고 가정하면
editor.putInt("MyInt01", 10);
editor.apply();
*editor.apply();를 해야만 저장이 실행된다.
3. 예제
1) activity_main.xml
|
1
2
3
4
5
6
7
8
9
10
11
12
13
14
15
16
17
18
19
20
21
22
23
24
25
26
27
28
29
30
31
32
33
34
35
|
<?xml version="1.0" encoding="utf-8"?>
<LinearLayout xmlns:android="http://schemas.android.com/apk/res/android"
android:layout_width="match_parent"
android:layout_height="match_parent"
android:orientation="vertical"
android:gravity="center">
<!-- 숫자 입력칸 -->
<EditText
android:id="@+id/et01"
android:layout_width="wrap_content"
android:layout_height="wrap_content"
android:hint="원하는 값 입력"
android:inputType="number" />
<Button
android:id="@+id/btn01"
android:text="저장"
android:layout_width="wrap_content"
android:layout_height="wrap_content"/>
<!-- 문자 입력칸 -->
<EditText
android:id="@+id/et02"
android:layout_width="wrap_content"
android:layout_height="wrap_content"
android:hint="원하는 값 입력"
android:inputType="text" />
<Button
android:id="@+id/btn02"
android:text="저장"
android:layout_width="wrap_content"
android:layout_height="wrap_content"/>
</LinearLayout>
|
cs |
2) MainActivity.java
|
1
2
3
4
5
6
7
8
9
10
11
12
13
14
15
16
17
18
19
20
21
22
23
24
25
26
27
28
29
30
31
32
33
34
35
36
37
38
39
40
41
42
43
44
45
46
47
48
49
50
51
52
|
public class MainActivity extends AppCompatActivity {
SharedPreferences pref; // 프리퍼런스
SharedPreferences.Editor editor; // 에디터
int myInt; // 숫자 변수
String myStr; // 문자 변수
EditText et01, et02; // 레이아웃 변수 EditText
Button btn01, btn02; // 레이아웃 변수 Button
@Override
protected void onCreate(Bundle savedInstanceState) {
super.onCreate(savedInstanceState);
setContentView(R.layout.activity_main);
// 1. Shared Preference 초기화
pref = getSharedPreferences("pref", Activity.MODE_PRIVATE);
editor = pref.edit();
// 2. 저장해둔 값 불러오기 ("식별값", 초기값) -> 식별값과 초기값은 직접 원하는 이름과 값으로 작성.
myInt = pref.getInt("MyInt", 0); // int 불러오기 (저장해둔 값 없으면 초기값인 0으로 불러옴)
myStr = pref.getString("MyStr", "_"); // String 불러오기 (저장해둔 값 없으면 초기값인 _으로 불러옴)
// 3. 레이아웃 변수 초기화
et01 = findViewById(R.id.et01); et02 = findViewById(R.id.et02);
btn01 = findViewById(R.id.btn01); btn02 = findViewById(R.id.btn02);
// 4. 앱을 새로 켜면 이전에 저장해둔 값이 표시됨
et01.setText(String.valueOf(myInt)); et02.setText(myStr);
// 5. 각 버튼 클릭시 새로운 값 저장
btn01.setOnClickListener(new View.OnClickListener() {
@Override
public void onClick(View view) {
myInt = Integer.parseInt(et01.getText().toString()); // int Max값 넘게 입력하면 오류 주의.
editor.putInt("MyInt", myInt);
editor.apply(); // 저장
}
});
btn02.setOnClickListener(new View.OnClickListener() {
@Override
public void onClick(View view) {
myStr = et02.getText().toString();
editor.putString("MyStr", myStr);
editor.apply(); // 저장
}
});
}
}
|
cs |
String은 문자를 직접 입력할때는 ""를 쓰는 것을 주의하자.
3) 사용 화면
처음 시작 화면
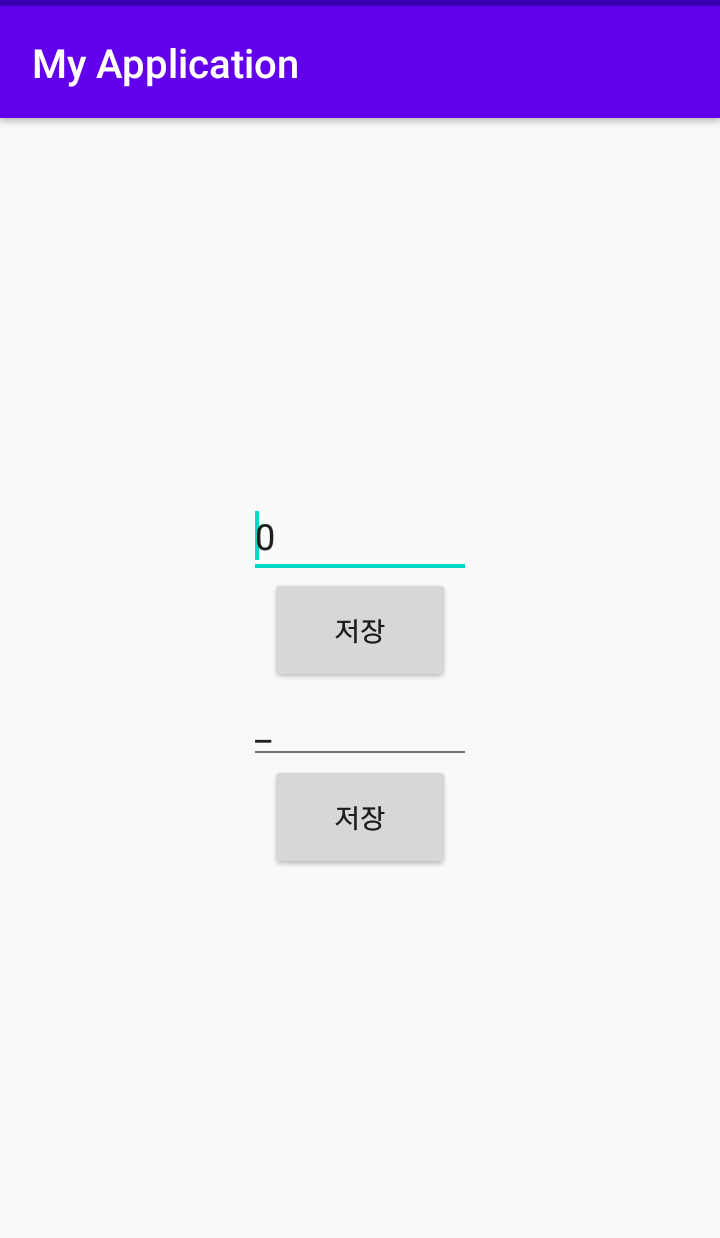
값 저장 후 재시작 화면
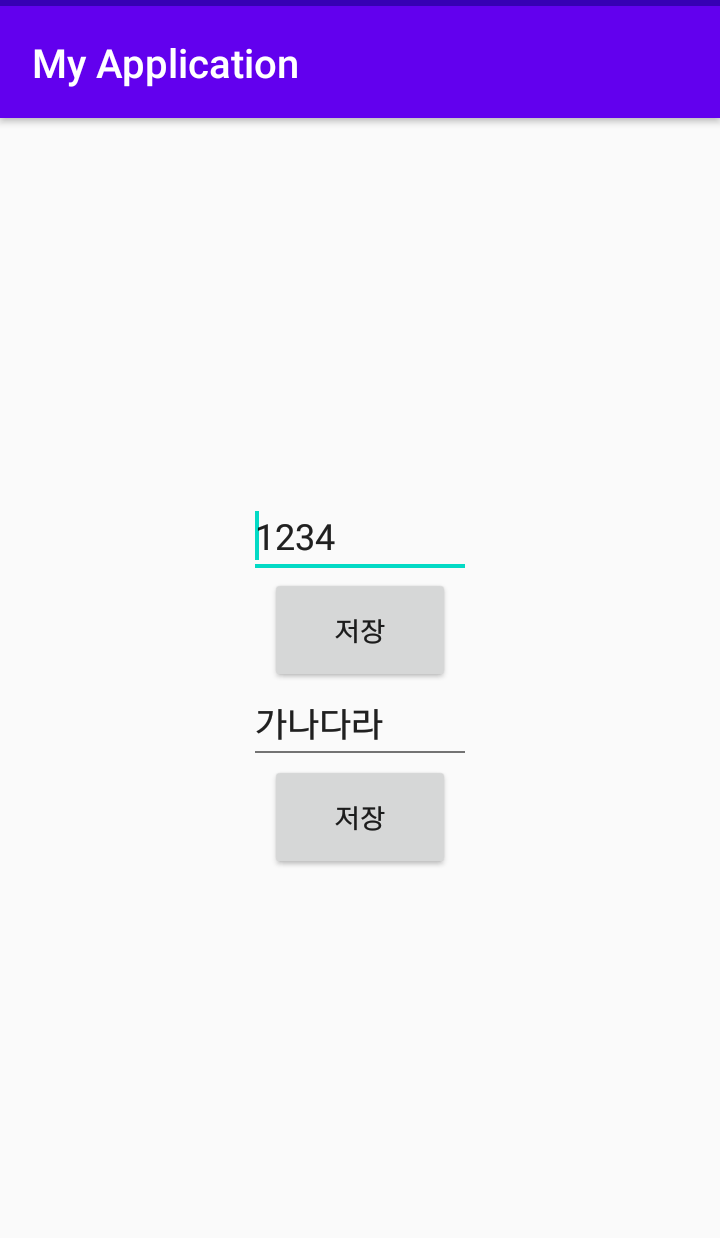
저장했던 값이 그대로 로드되는 것을 볼 수 있다.
'Android 개발 > android :: 예제' 카테고리의 다른 글
| [안드로이드] 웹뷰(WebView) - 초간단 웹브라우저 예제 (with 로딩바(ProgressBar)) (2) | 2020.08.17 |
|---|---|
| [안드로이드] 커스텀 다이얼로그(Custom Dialog) 둥글게 모서리 디자인하기 (feat. 투명 버튼) 초간단 예제 (0) | 2020.08.16 |
| [안드로이드] 커스텀 다이얼로그(Custom Dialog) 초간단 예제 - 사용자정의 다이얼로그 만들기 (2) | 2020.08.15 |
| [안드로이드] 기본 알림창 AlertDialog로 팝업 다이얼로그 띄우기 (1) | 2019.08.28 |


댓글